|
I decided to make a skull out of paper mache for this project, and turn it into a wearable mask. Though, unfortunately I lost the time to finish it, it will get done on my one time sometimes in the future.
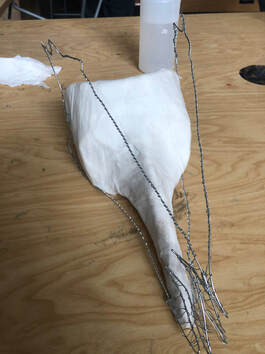
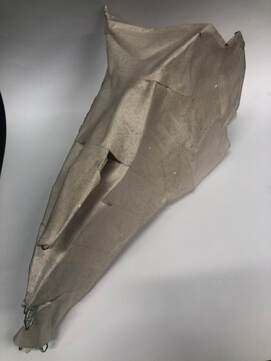
I started the mask by using a doctor mask as a mold for the underneath of the mask, and were my face will connect. I shaped some wire to the shape I wanted for the skull and hot glued it to my paper mache base.
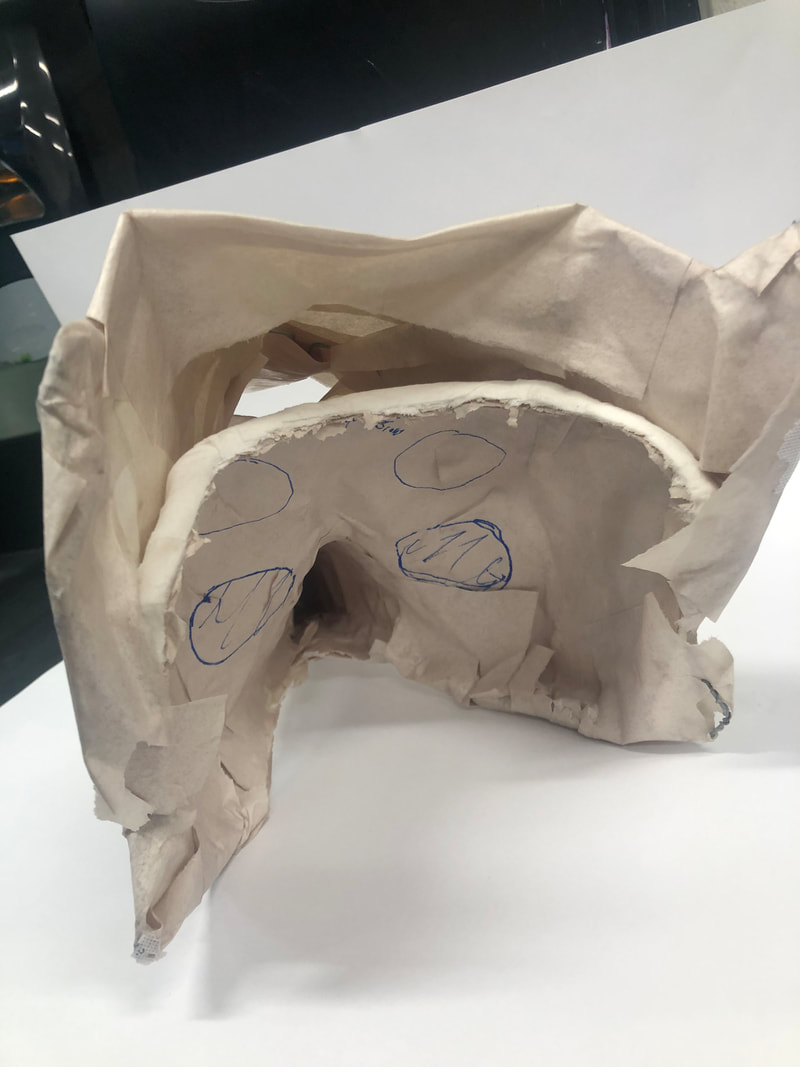
The mask definitely started to take shape and alot of progress was made. I placed the eyes slightly higher up than originally placed to accomodate for the placement of the eye sockets of the skull. After some more layers and some tin foil antlers and teeth, the mask will be nearly done. All i would need to do is paint and add a strap to make it wearable.
0 Comments
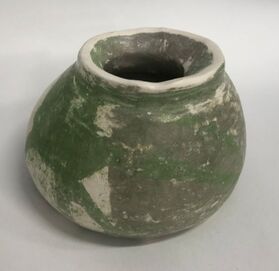
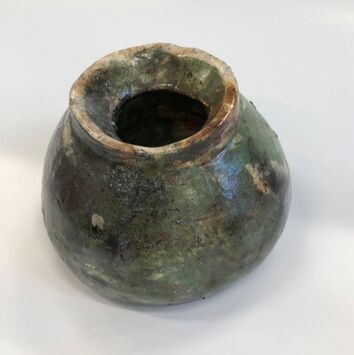
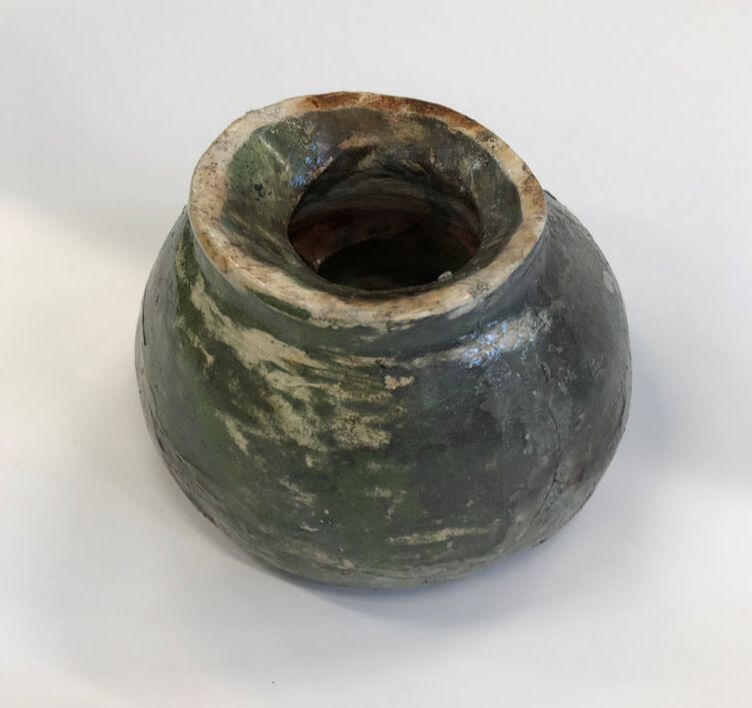
Here is my finished pitfire piece. You can see lots of dark greys and some red showing on top of the green. It's super shiney and polished looking and the only hard part about it was making the shape on the wheel and taking the time to burnish it. I'm not sure what I'll use it for other then a decoration but maybe it'll end up useful.
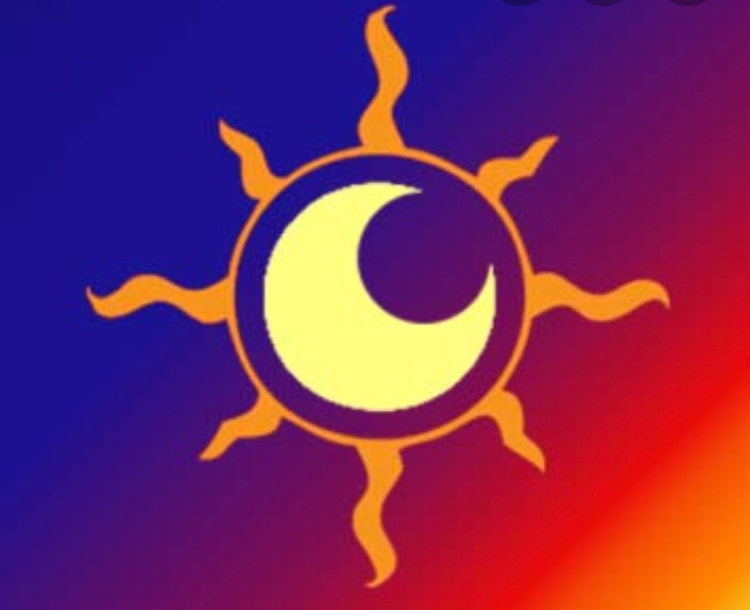
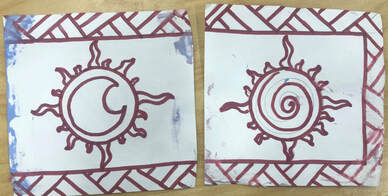
Here is a picture i found that helped me make my designs, and two of the three trace papers i used (i lost the other one, along with the in progress pictures i took). 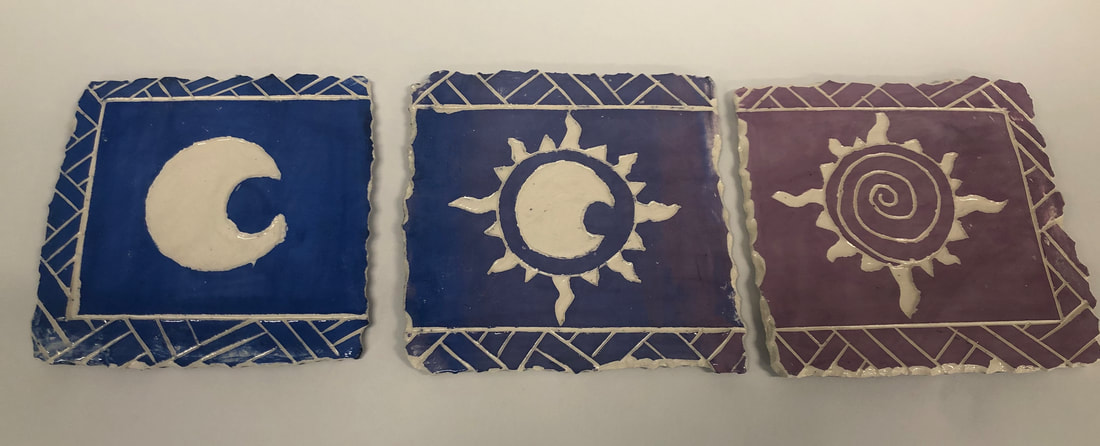 Here I have my final sgraffito piece. I took the reference picture and put a similar design in the middle, and broke it up from moon and sun on either side. I chose a dark blue for nightm and a pinkish purple for the day. I mixed the who a bit for the middle tile and made a slight gradient to make the piece flow together. I did a small simple design around the edges, along with breaking off little chunks around the edges to give an older, even sacred look. The hardest part was probably getting the lines to go where I wanted them to. It was super easy to transfer the drawings and paint the tiles.
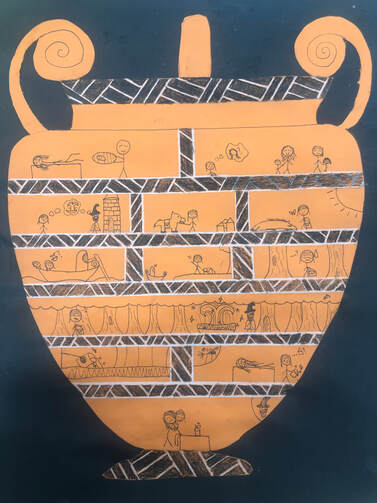 For my drawing, I told a story about a girl who's mother died at her birth, and she was upset that all the other kids have moms. She seeks out a wizard who tells her of a magical fountain far away deep in the woods. She sets out on her journey, traveling though desert, ocean, and wood. She finally finds the fountain, also seeing that the wizard waited for her expectantly. SHe fills a cup up of the magical water and the wizard snaps her back home. She gives her mother's bones the water and the mother wakes up, alive and healthy, giving the daughter she never got to raise the first hug ever.
 Here is my piece for the pitfire. This piece is from off the wheel. I put coloured slip on and burnished it before it was bisque-fired to create some nice colours. I plan to use lots of salt and copper to make reds and burned patterns, I also want to use some eggshells and the copper carbonate.
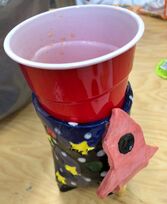
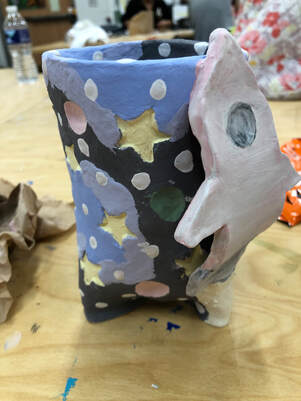
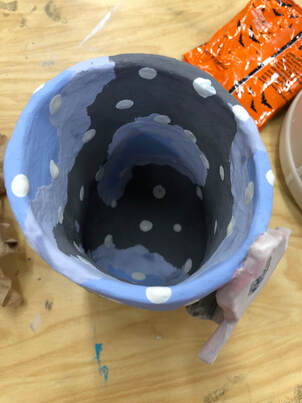
Here is my finished mug! Unfortunately it was accidentally dropped and a portion of the side shattered, but thankfully was put back together by Brandon and Emily(Thanks guys!). Since it was fixed with epoxy, I couldn't drink out of it during the party, but I repurposed it as a solo cup holder.

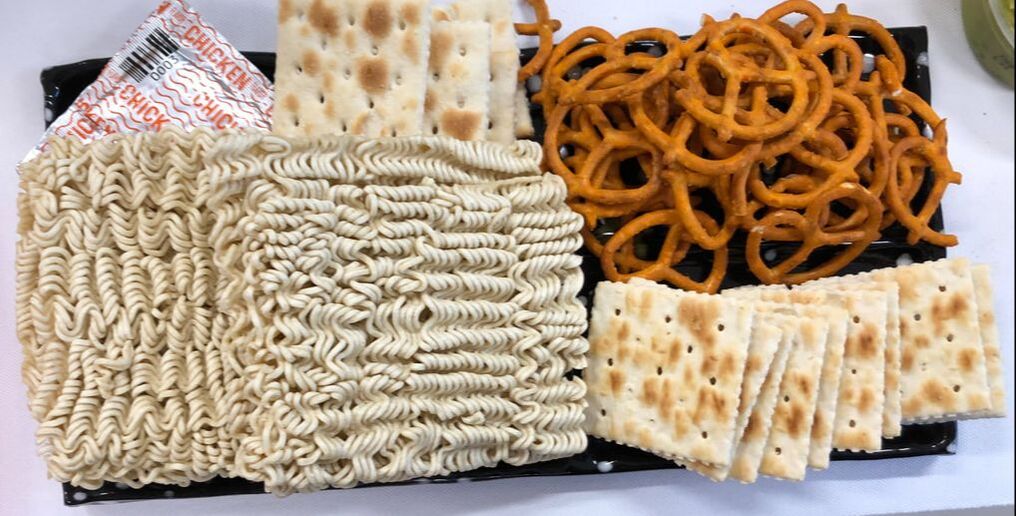
Here is my whole set pictured together and it being used during the party. I ended up putting crackers, pretzels, and ramen on my tray because they seem like easy things that could potentially be eaten in space. I used my mug as a solo cup holder, but I will later use it for candy.
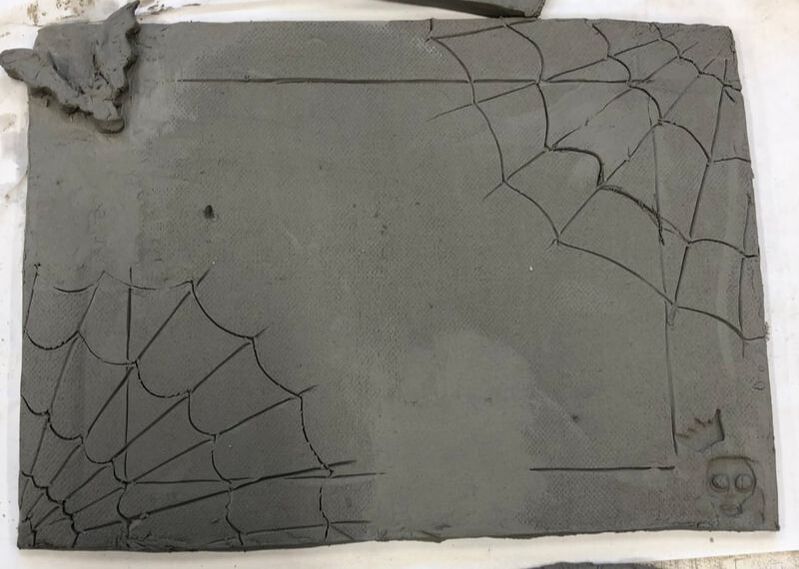
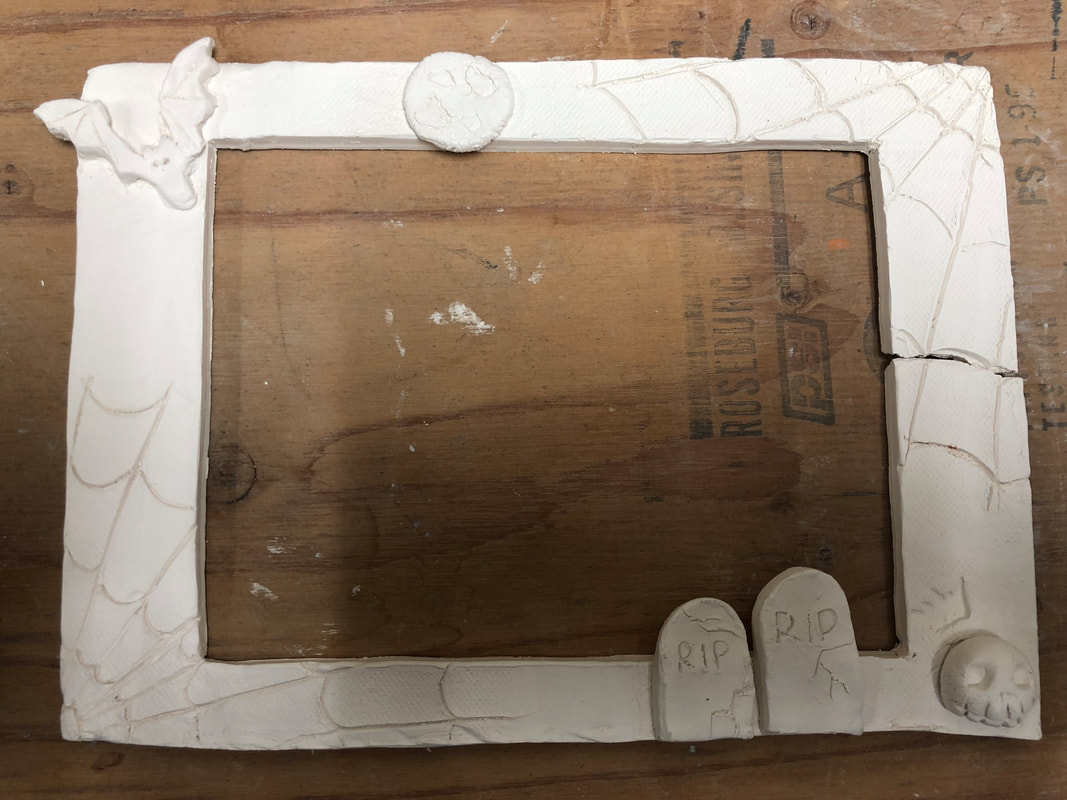
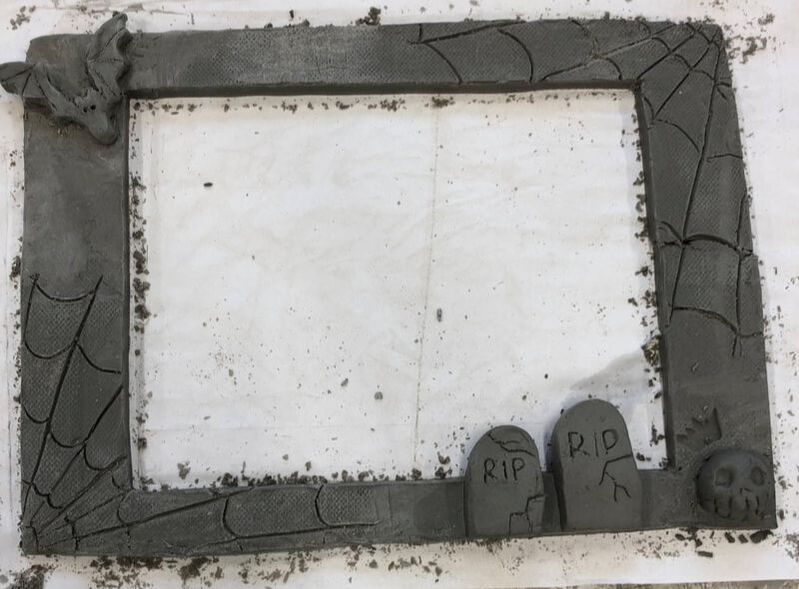
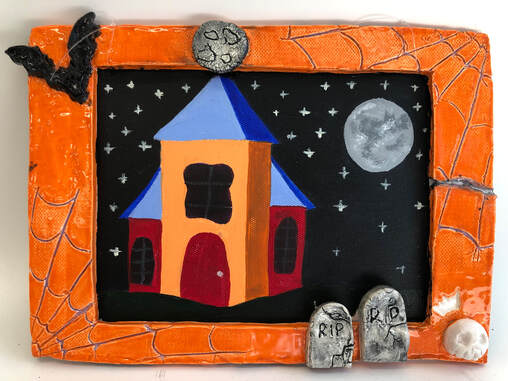 For my frame, I did the halloween theme with the webs and gravestones and everything else on it. I ended up doing the webs purple and the frame orange, rather than the other way around that I had originally planned. Taylor Z did the painting on the inside and I think it puts it all together, just like the epoxy that put together the broken piece of the side of my frame. I wish I did a little better on the purple in the webs, and I should have ribbed the slate to get rid of the fabric pattern before drawing my designs, but those are the only things I would change. I love how the blotted underglaze looks on the moon and gravestones, it gives them a little more of a realistic look that I really like. I also love how bright and halloweeny the orange is.
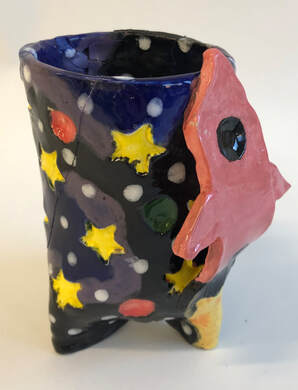
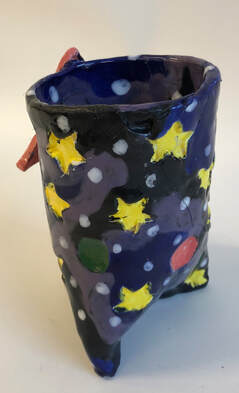
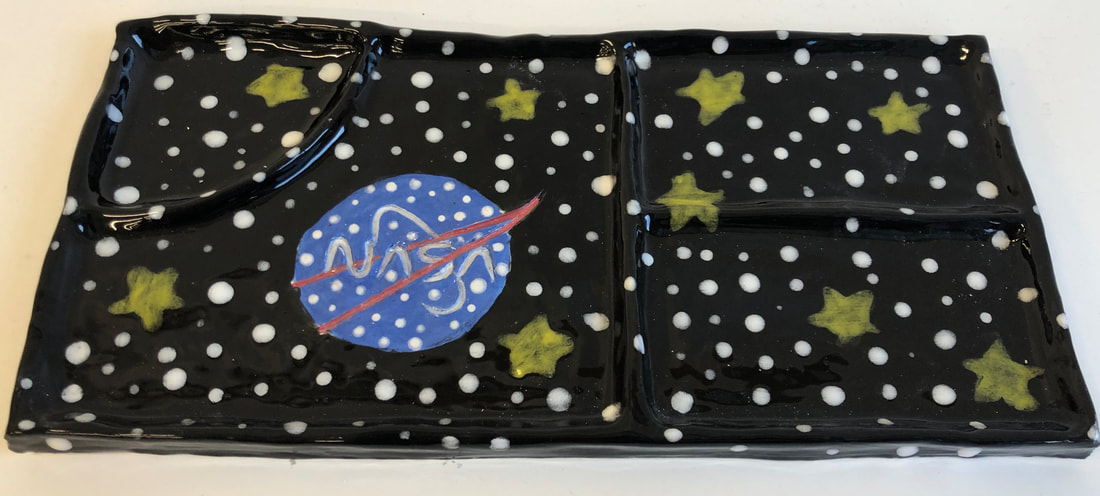
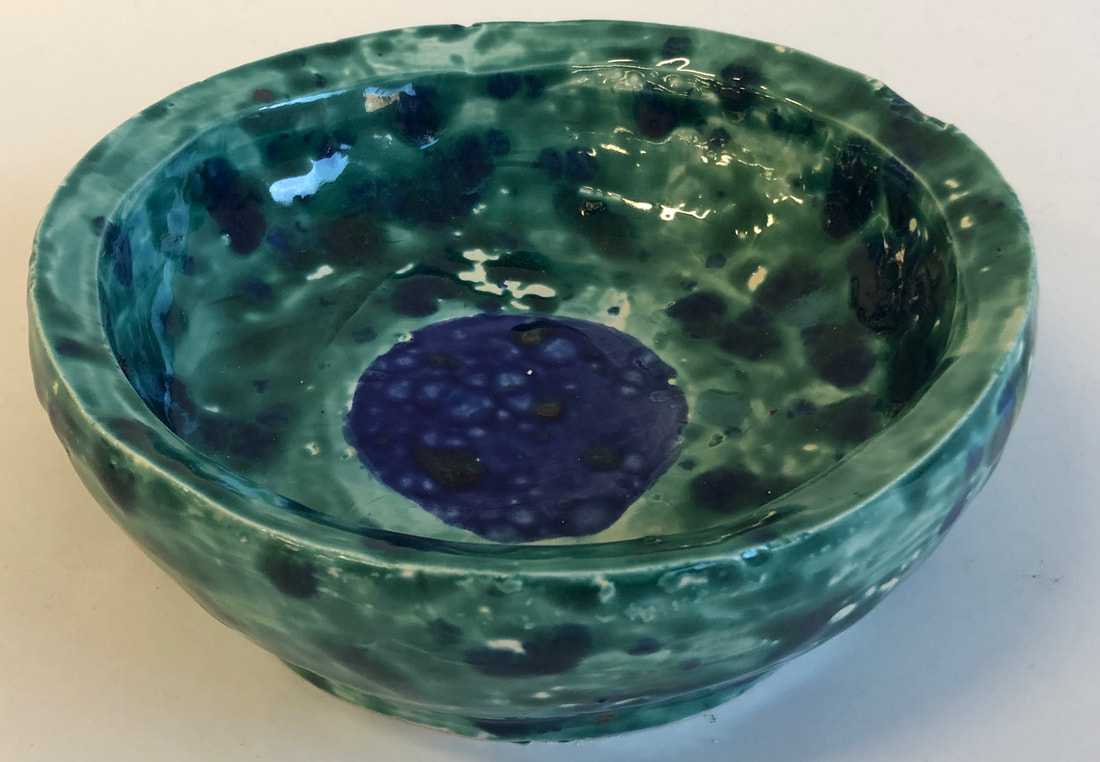
For my set, I decided to do a space theme. My mug is made with stars and planets and a rocket handle. I planed to do a lot of different coloured glazes to make it as spacey as I can. I made the stars a bright yellow, with green and pink planets around the mug. The rest of the mug is blue, and black with purple in between. I also but white dots all over to resemble more stars. For my tray, I made a NASA lunch/dinner plate, like one in a cafeteria. I don't know what gave me the idea, but the tray it's self will be grey, with the blue, red, and white NASA logo. The last piece for my set is a bowl that will be decorated similar to the mug, with the nasa logo in the center. 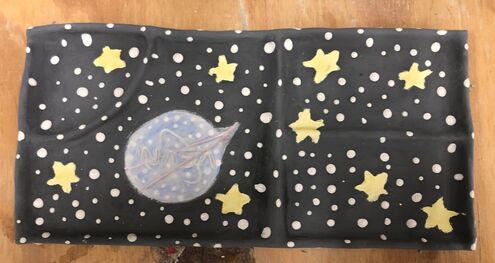 Here's how the tray looked before I fired it! Definitely a little different then I thought, but the NASA logo stayed.
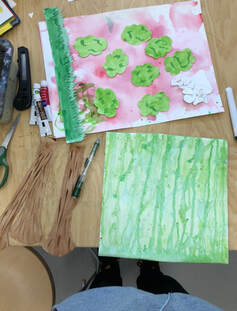
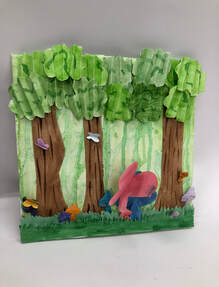
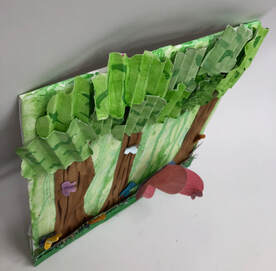
I started my project by making a green background by using the drip method with the watercolour paint. I then started cutting out all the individual pieces that I painted and later put together. I did the tree layer first, then put together the mushrooms, grass, and butterflies.
Pros; Working with paper is easy, its easy to manipulate and put together. I like the colours I used with watercolours and I feel like it looks better then if It was all paper-white. Cons; One thing that was a little annoying in this project was the repetition of drawing and cutting out the same pieces over and over again. I wanted to make the mushrooms and butterflies different sizes because I thought It would look better (which I still agree with), so I couldn't cut them all out at the same time. |
AuthorI believe in using songs to say things and reincarnation. Archives
January 2020
Categories |

 RSS Feed
